Creating a Room
Introduction
A Room is a container for one or more Steps. By creating a Room, you can group related Steps and optionally set a difficulty level or mark it as premium (paid). This guide shows how to add a new Room, attach existing Steps, and configure other metadata such as an icon and description.
1. Prerequisites
- Have Steps ready: It’s best to create your Steps first so you can add them to the Room right away. If you haven’t yet, see Creating Step.
2. Accessing the Room Creation Page
- Go to UGC Editor → Rooms.
- Click +Add Room. This will open the Room creation form.
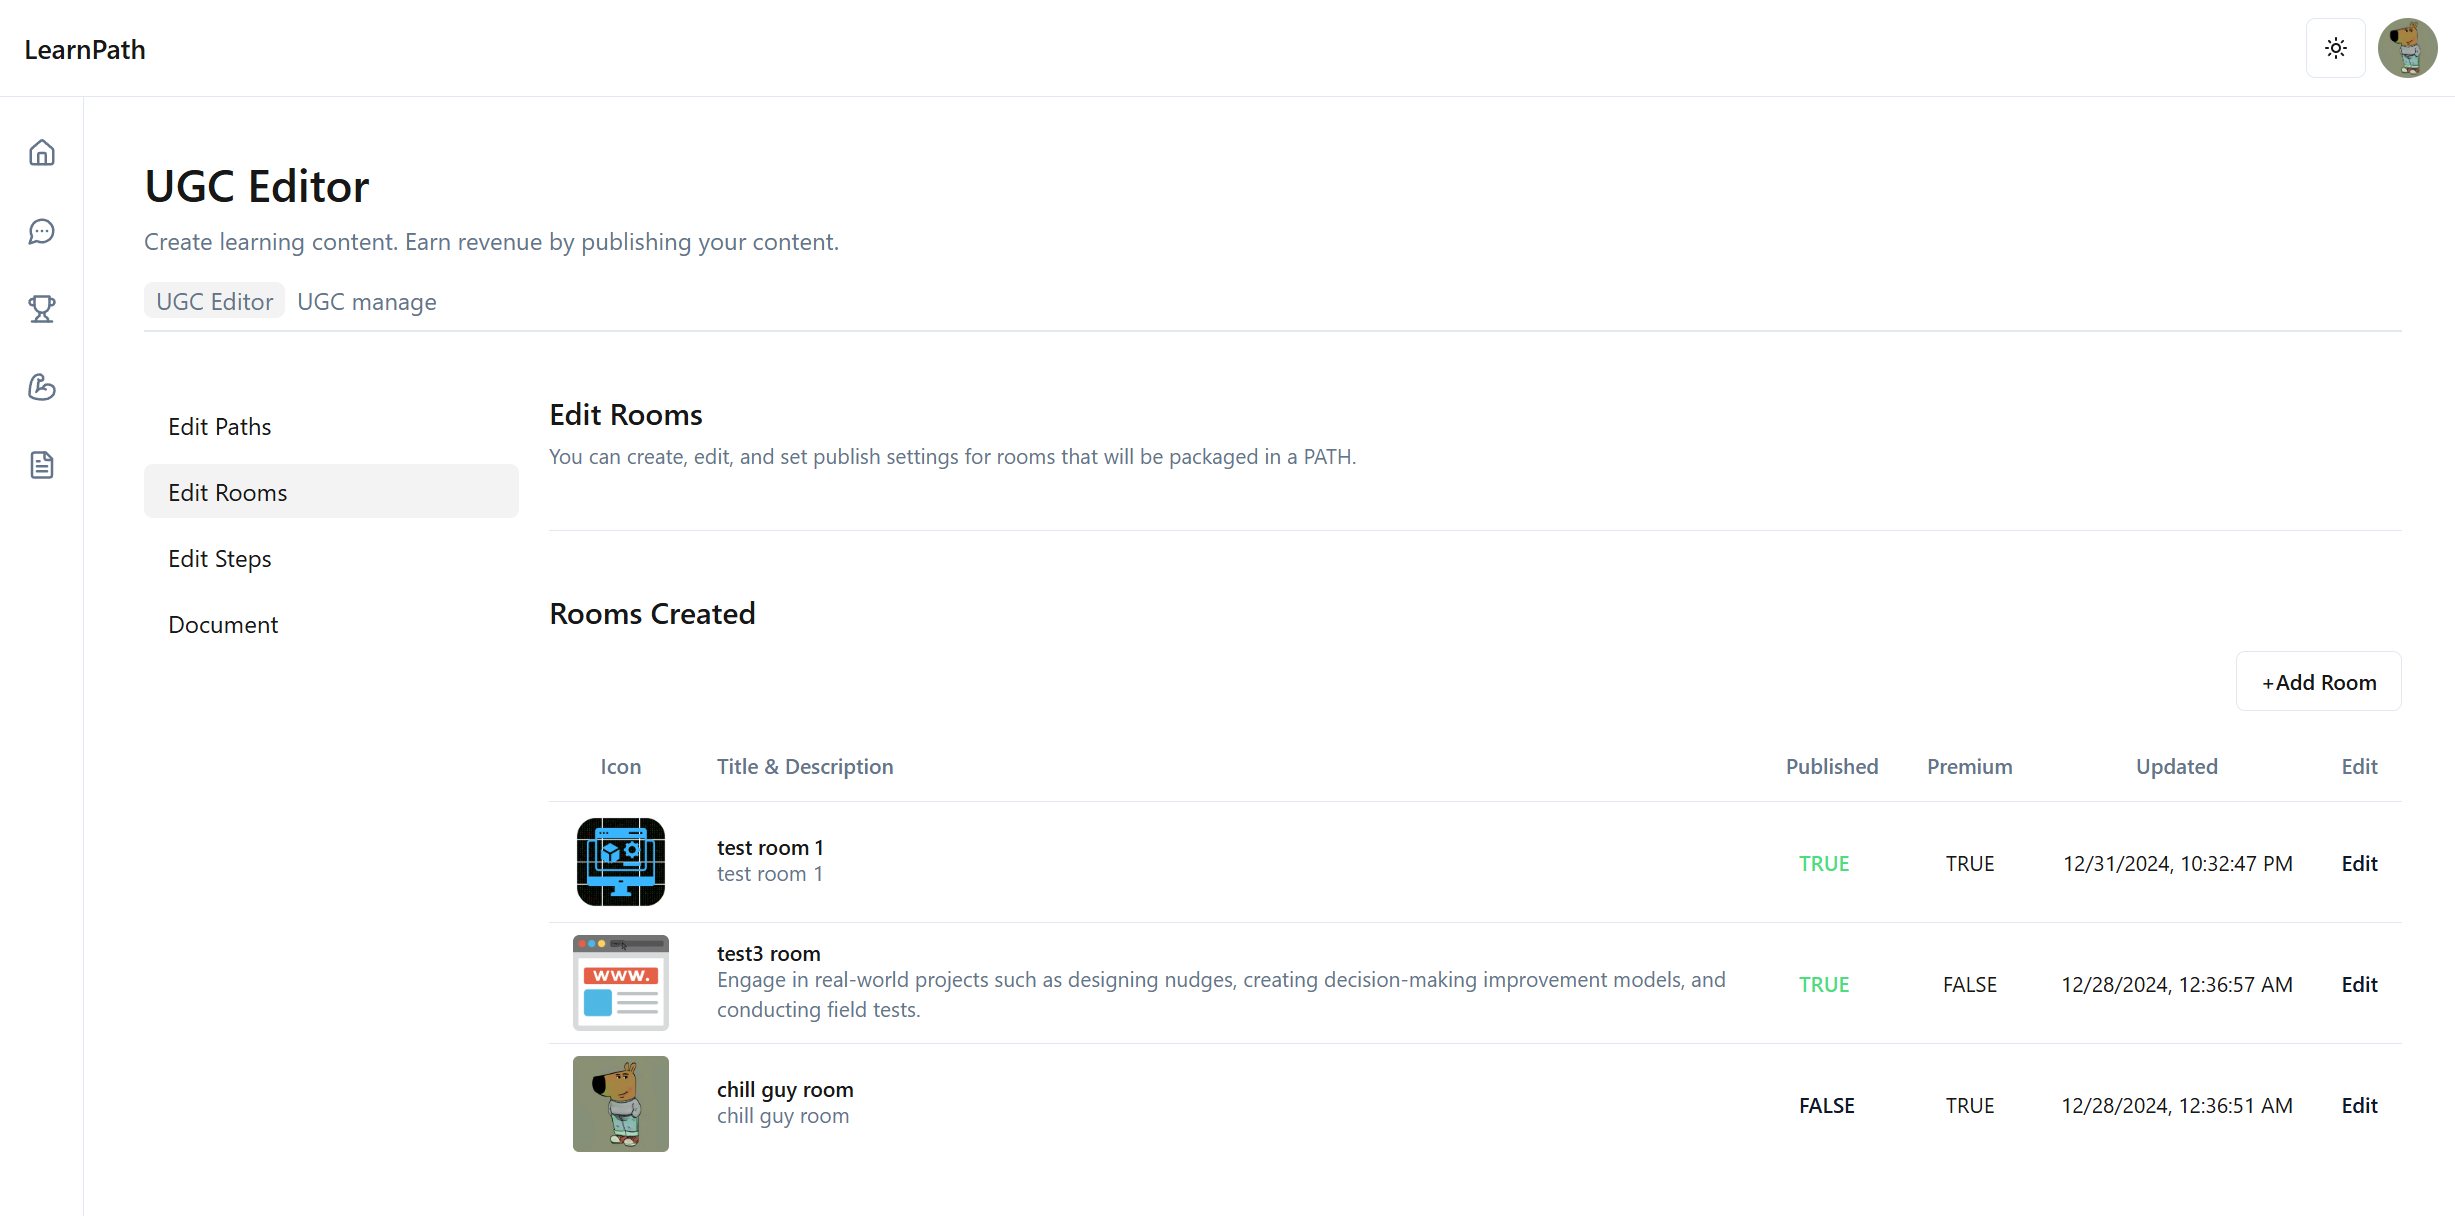
3. Filling Out Room Details
- Title: Give your Room a concise name (e.g., “HTML Basics”).
- Description: Provide a brief overview of what learners will find in this Room.
- Icon (1:1 image): Upload a square thumbnail (e.g., 128×128px) to represent the Room visually.
- Difficulty: Set it to Easy, Medium, or Hard.
- Premium Toggle: Determine if users need an active subscription to access this Room.

4. Attaching Steps
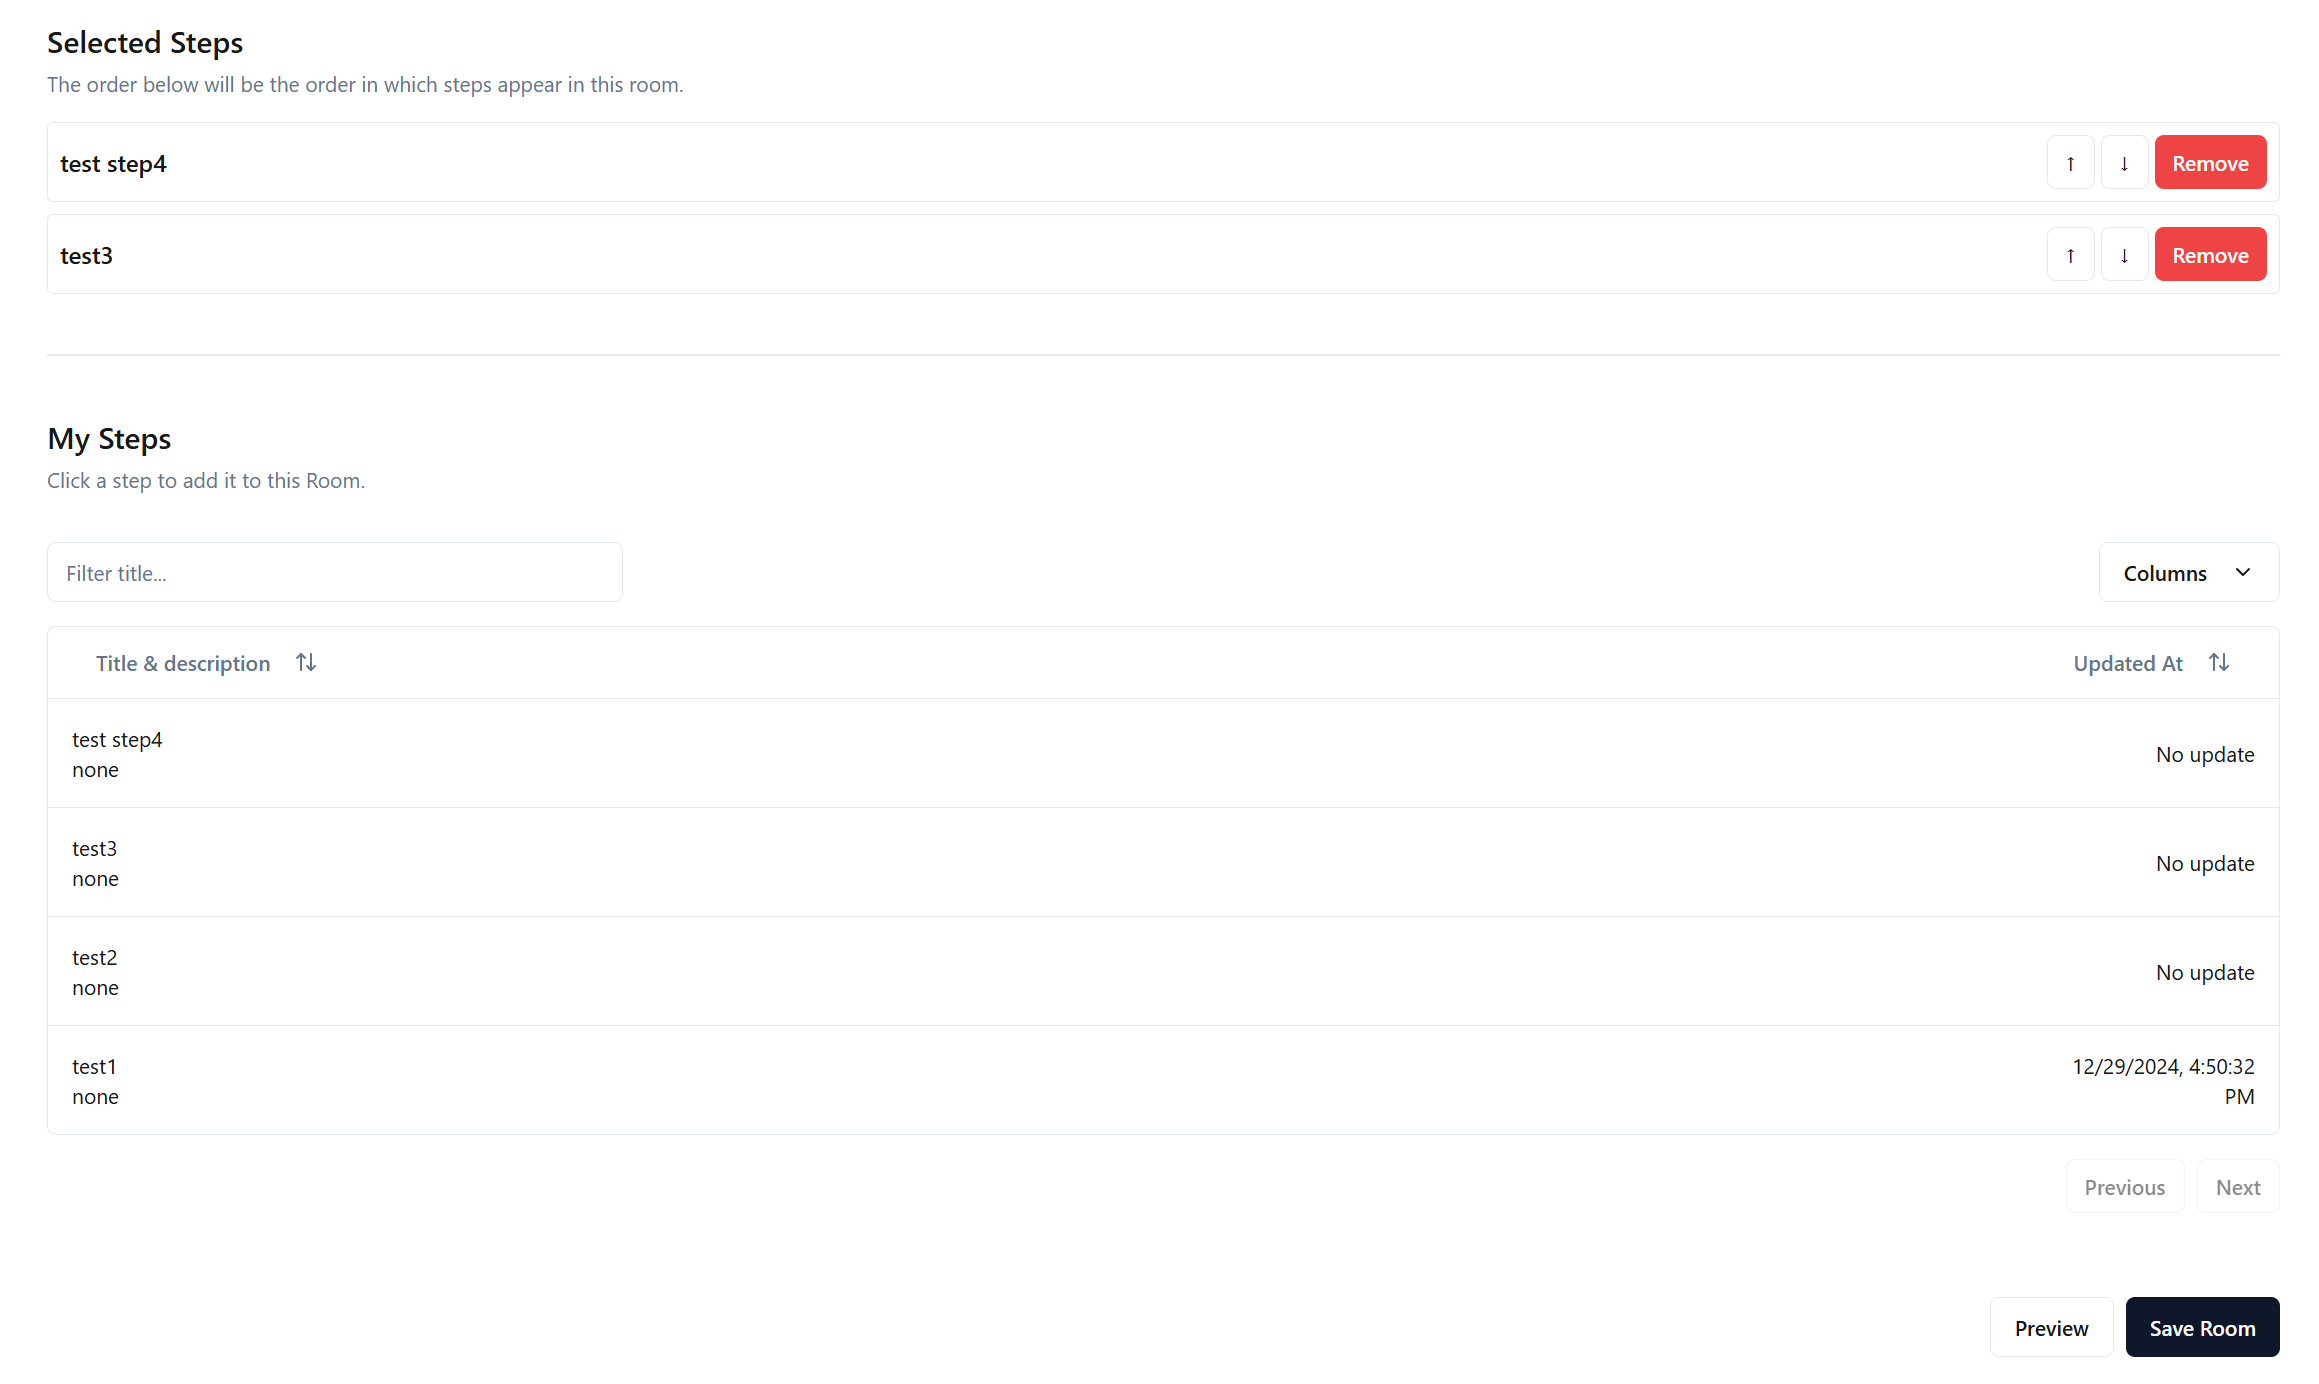
Below the Room details, you’ll find a list of your existing Steps. Click on a Step to add it to your Room. You can reorder them using Up/Down buttons. The order you set here is the sequence learners will follow.
- Selected Steps Panel: Shows which Steps you’ve attached. Remove or reorder them at will.
- Preview Button: Some versions of the editor provide a “Preview” option to see how the Room appears to learners.
5. Saving and Publishing
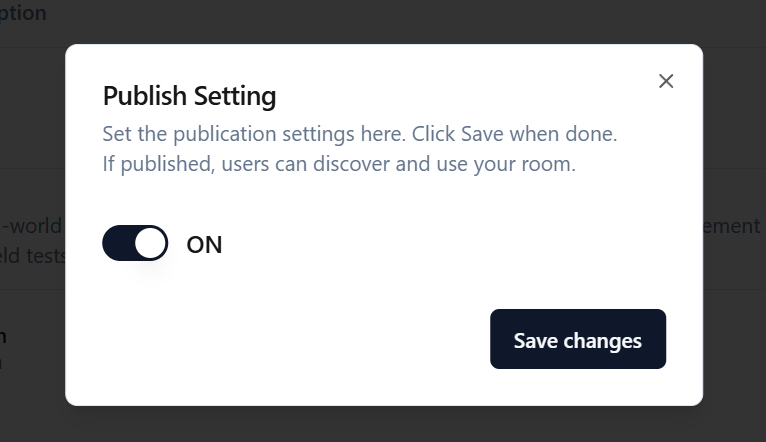
Once satisfied, click “Save Room”. This stores your new Room in the database. However, it won’t be publicly discoverable until you toggle its published state.
- Publishing: Return to the Rooms List page to toggle the
publishedsetting. A “TRUE” or “FALSE” indicator typically shows the current status. - Adding to a Path: If you want to include this Room in a Path, ensure it’s published and then go to Path Editor to attach it.

6. Next Steps
With your Room created, you can include it in a Path to form a cohesive course. Or you can publish it standalone so learners can immediately begin. To learn more:
- What is Path? — Explains the role of a Path in bundling multiple Rooms.
- Publish and Monetize — Details on how to make your Room publicly accessible and earn revenue through subscriptions.