Creating Your First UGC
1. Overview
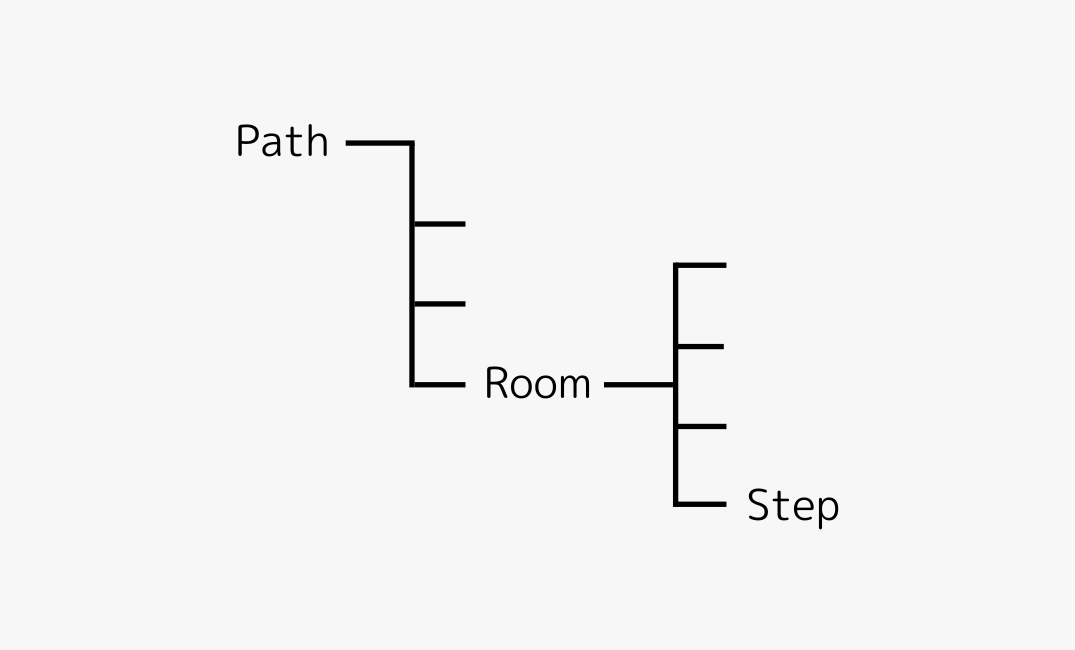
In LearnPath, you can create your own educational content (UGC) by combining three major elements:
- Step: The smallest unit of content (text, quizzes, etc.)
- Room: A container that holds multiple steps (and can be premium or free)
- Path: An overarching structure that organizes multiple rooms and can optionally provide a certificate upon completion
This guide will walk you through creating your first Steps, bundling them into a Room, and finally packaging everything into a Path. By the end, you’ll have a shareable, publishable piece of UGC!
2. Preparation
Before diving into the editor, clarify a few key points:
- Topic & Target Audience: What will you teach, and who will benefit from it?
- Structure: Will you have multiple steps inside a single room, or multiple rooms forming an entire course (Path)?
3. Create Your First Step
Steps form the core learning content. Each step can include text, images, YouTube embeds, or quiz-style questions. Here’s how to make one:
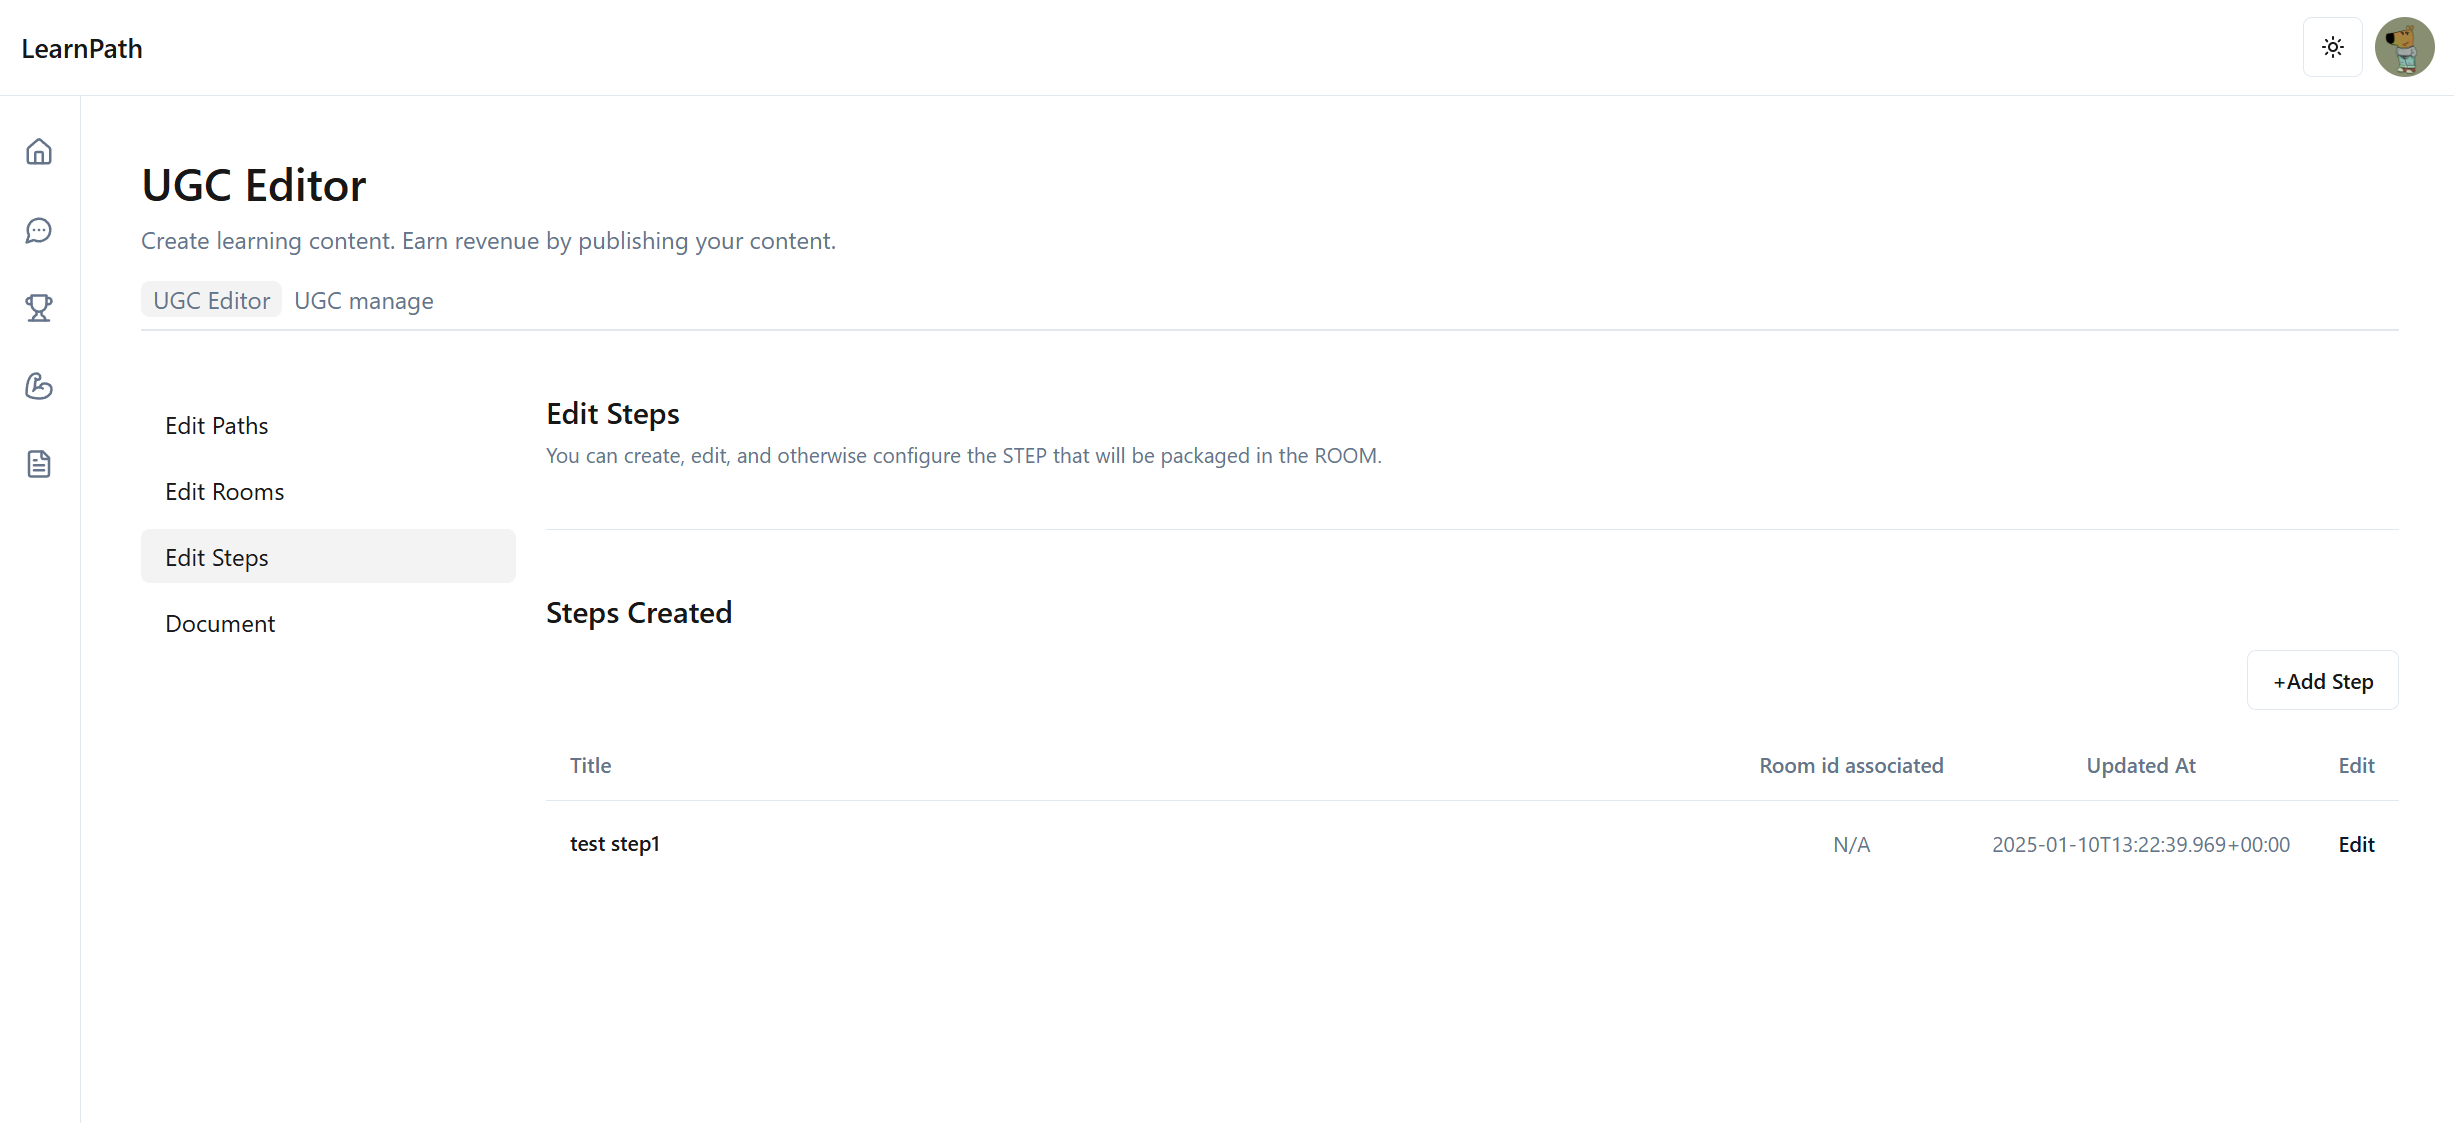
- Go to “Steps”: In the “UGC Editor” menu, open the Steps list page.
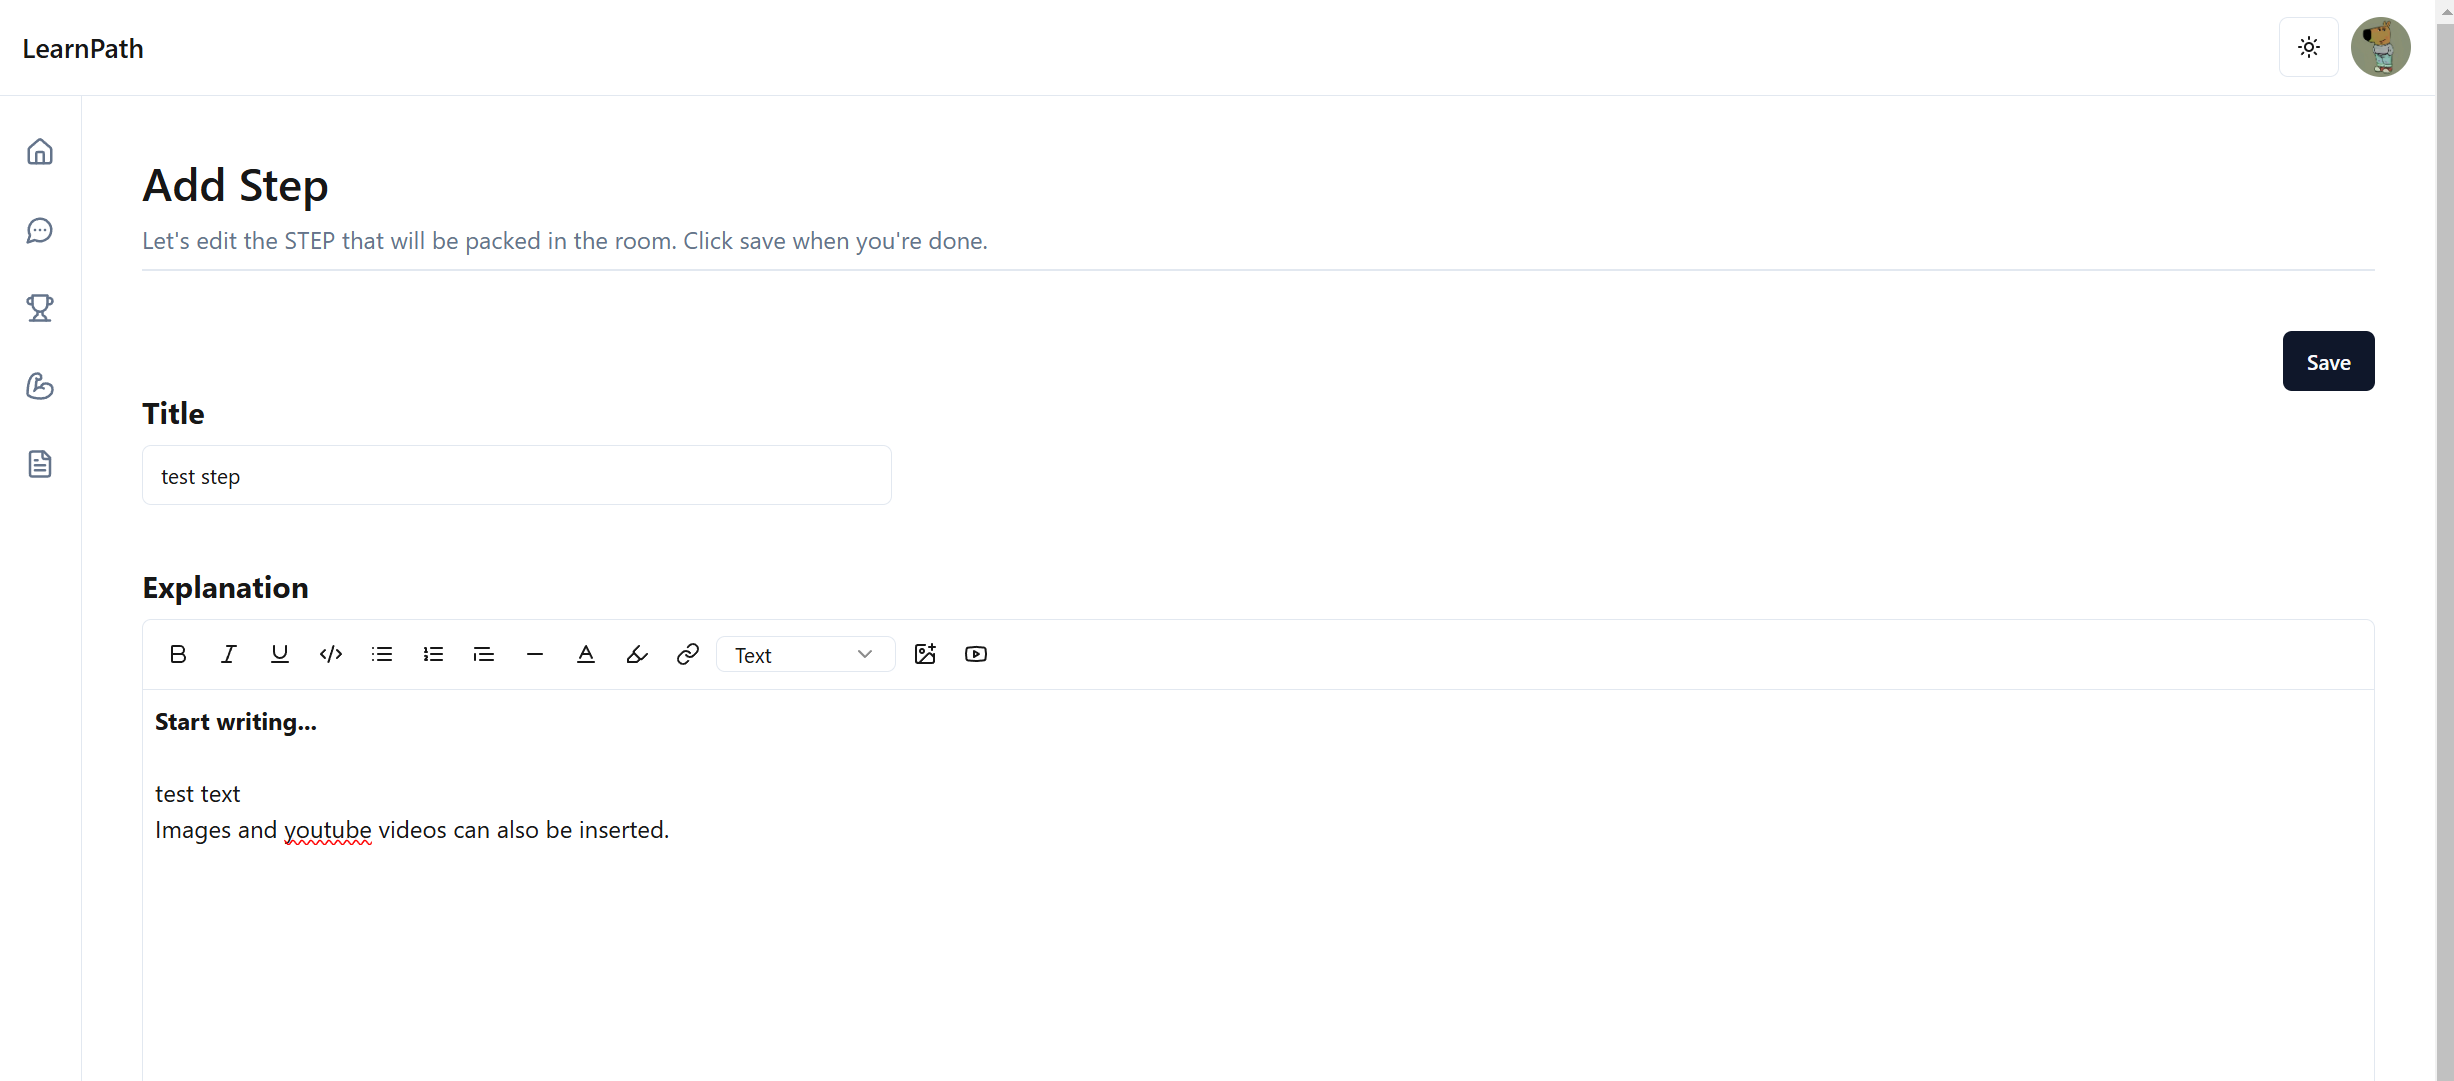
- Click “+Add Step”: This takes you to the step creation page.
- Enter a Title: E.g., “Introduction to JavaScript”
- Use the Rich Text Editor:
Format text (bold, italic, underline), add images, embed YouTube videos, and create quiz questions with placeholders. - Save: Once satisfied, click “Save” to store it in your step list.
4. Group Steps into a Room
Once you have one or more steps created, bundle them into a Room:
- Go to “Rooms”: In the “UGC Editor” menu, open the Rooms list page.
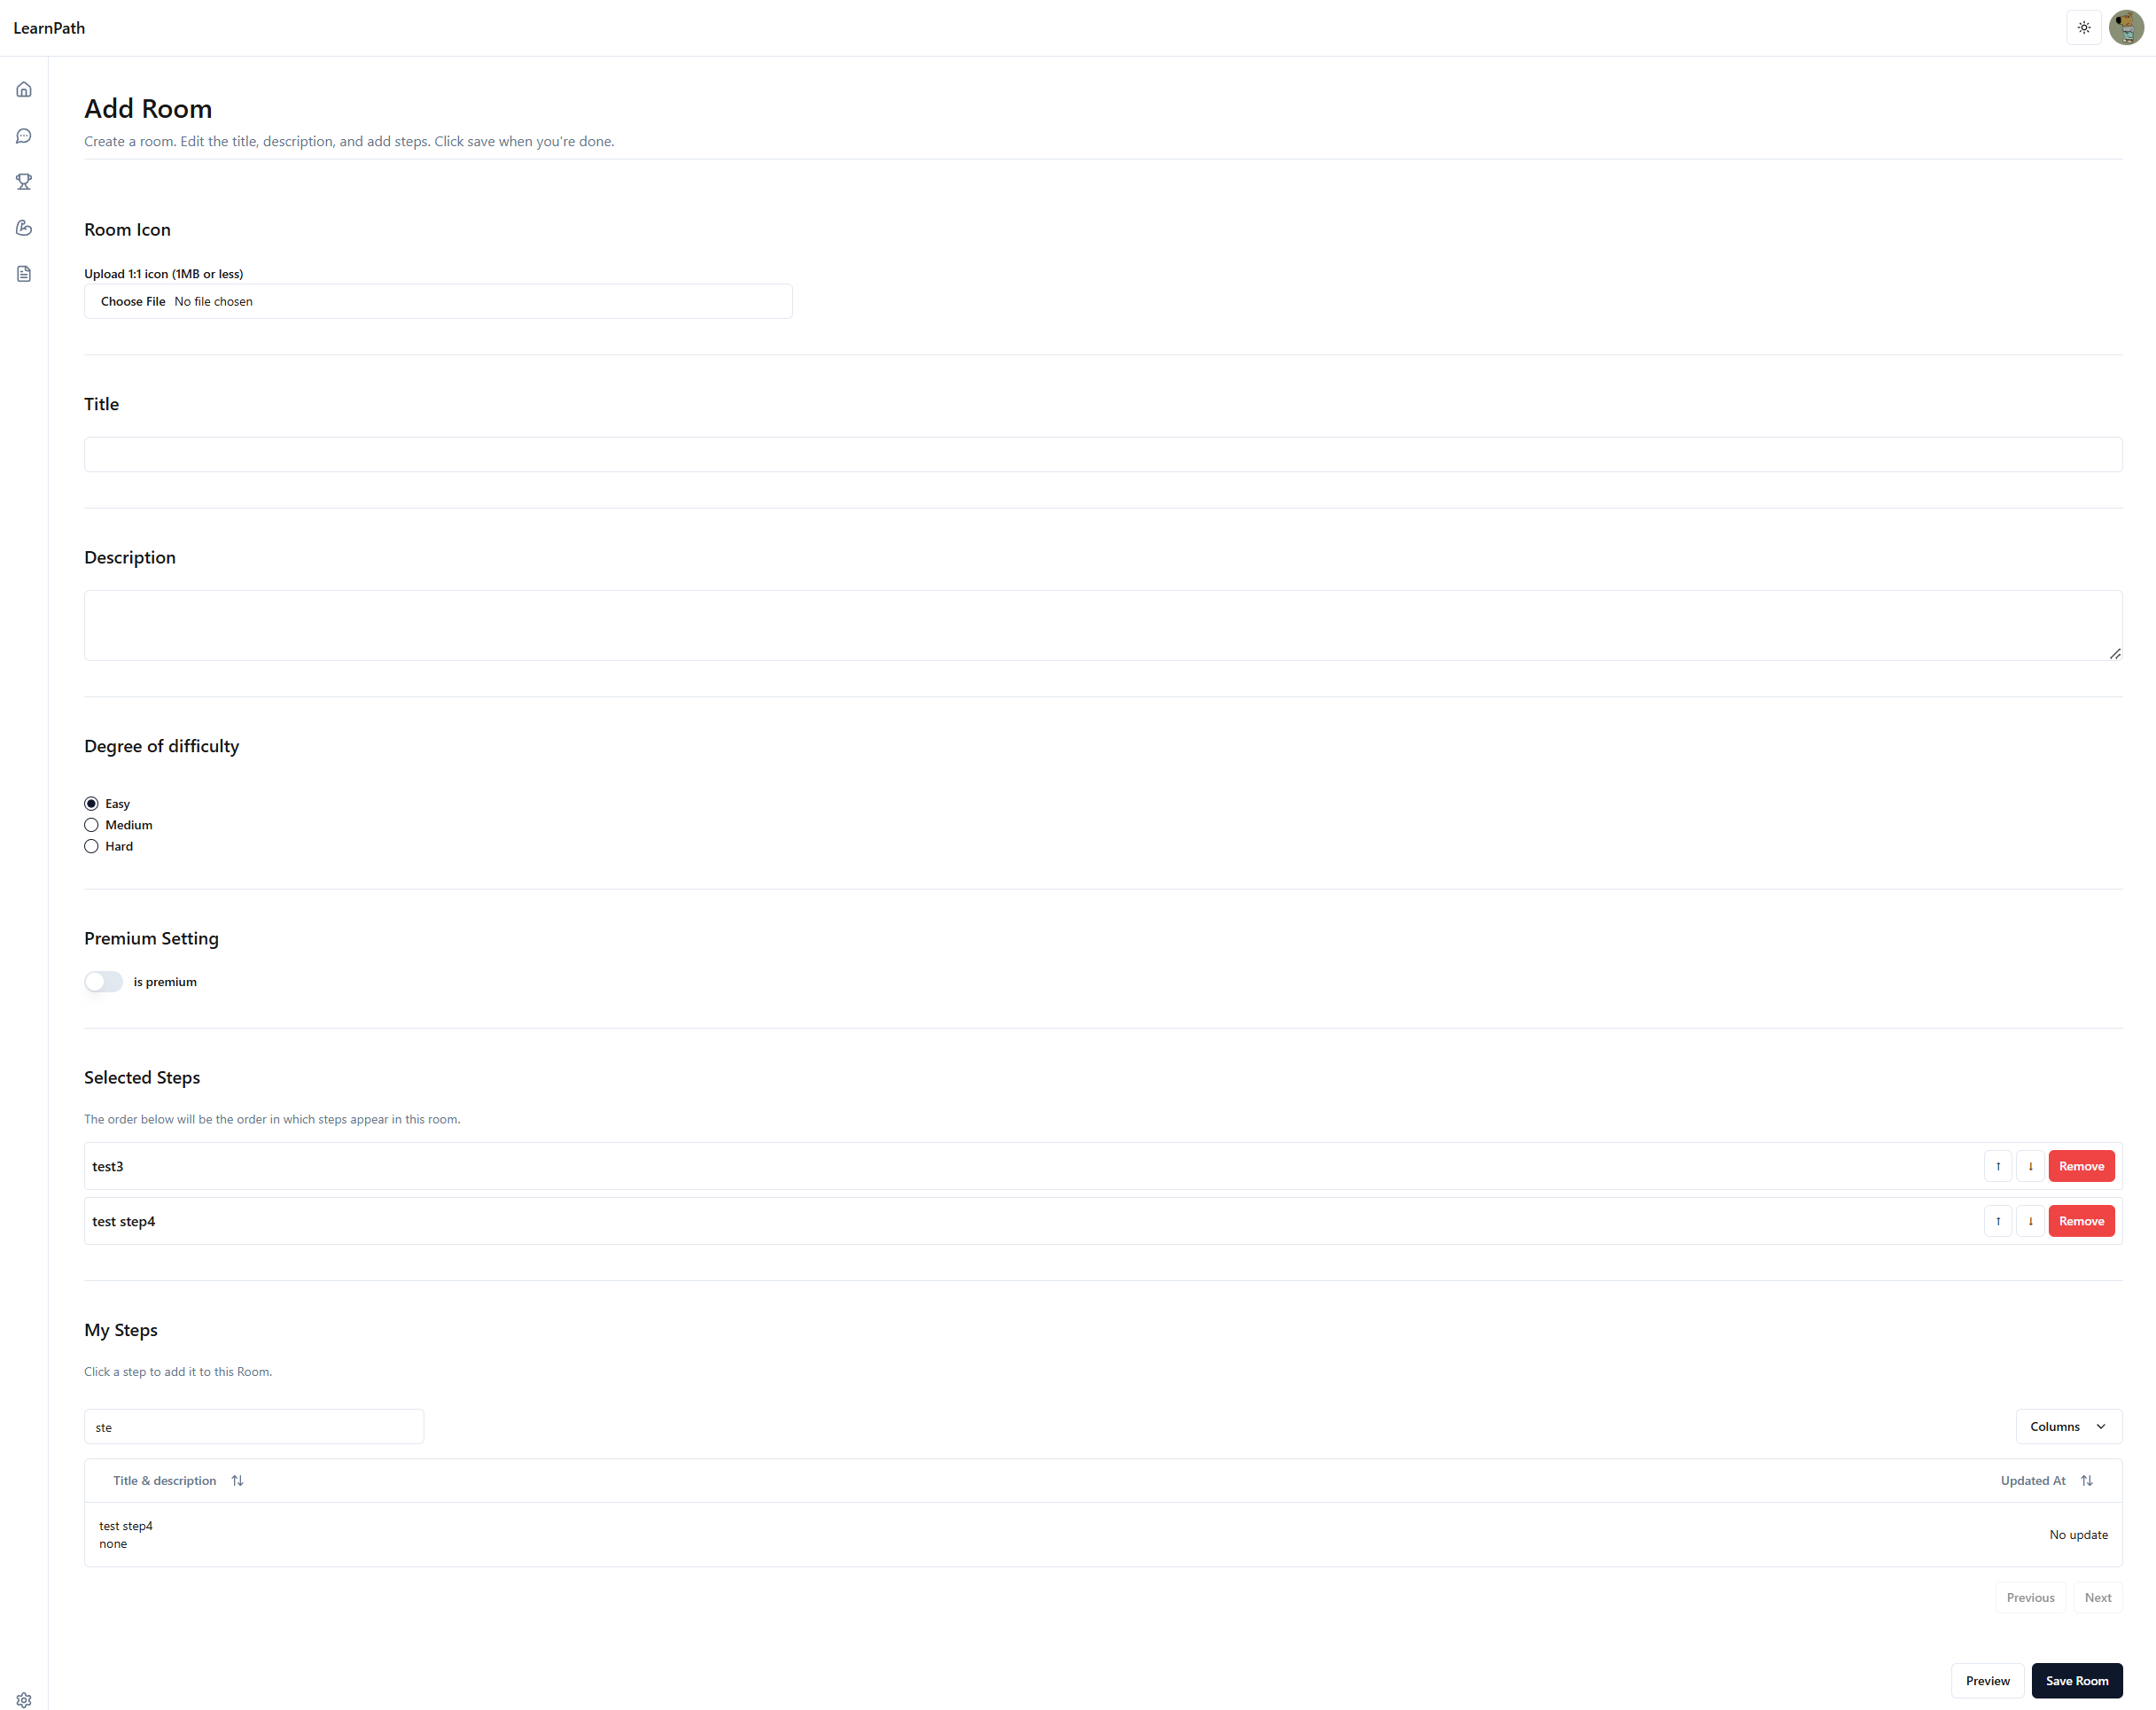
- Click “+Add Room” to create a new room.
- Provide Basic Info: Title, description, and optionally a 1:1 icon image. Set
difficulty(Easy/Medium/Hard) and whether it’spremiumor free. - Choose Steps:
A table or list of your existing steps will be shown. Click each step you want to include. You can reorder them using Up/Down buttons. - Save & Preview: Click “Save Room,” and optionally preview how it appears to learners.
5. Build a Path
A Path can include multiple rooms, a main introduction, and an optional certificate.
- Go to “Paths”: In the “UGC Editor” menu, open the Paths list page.
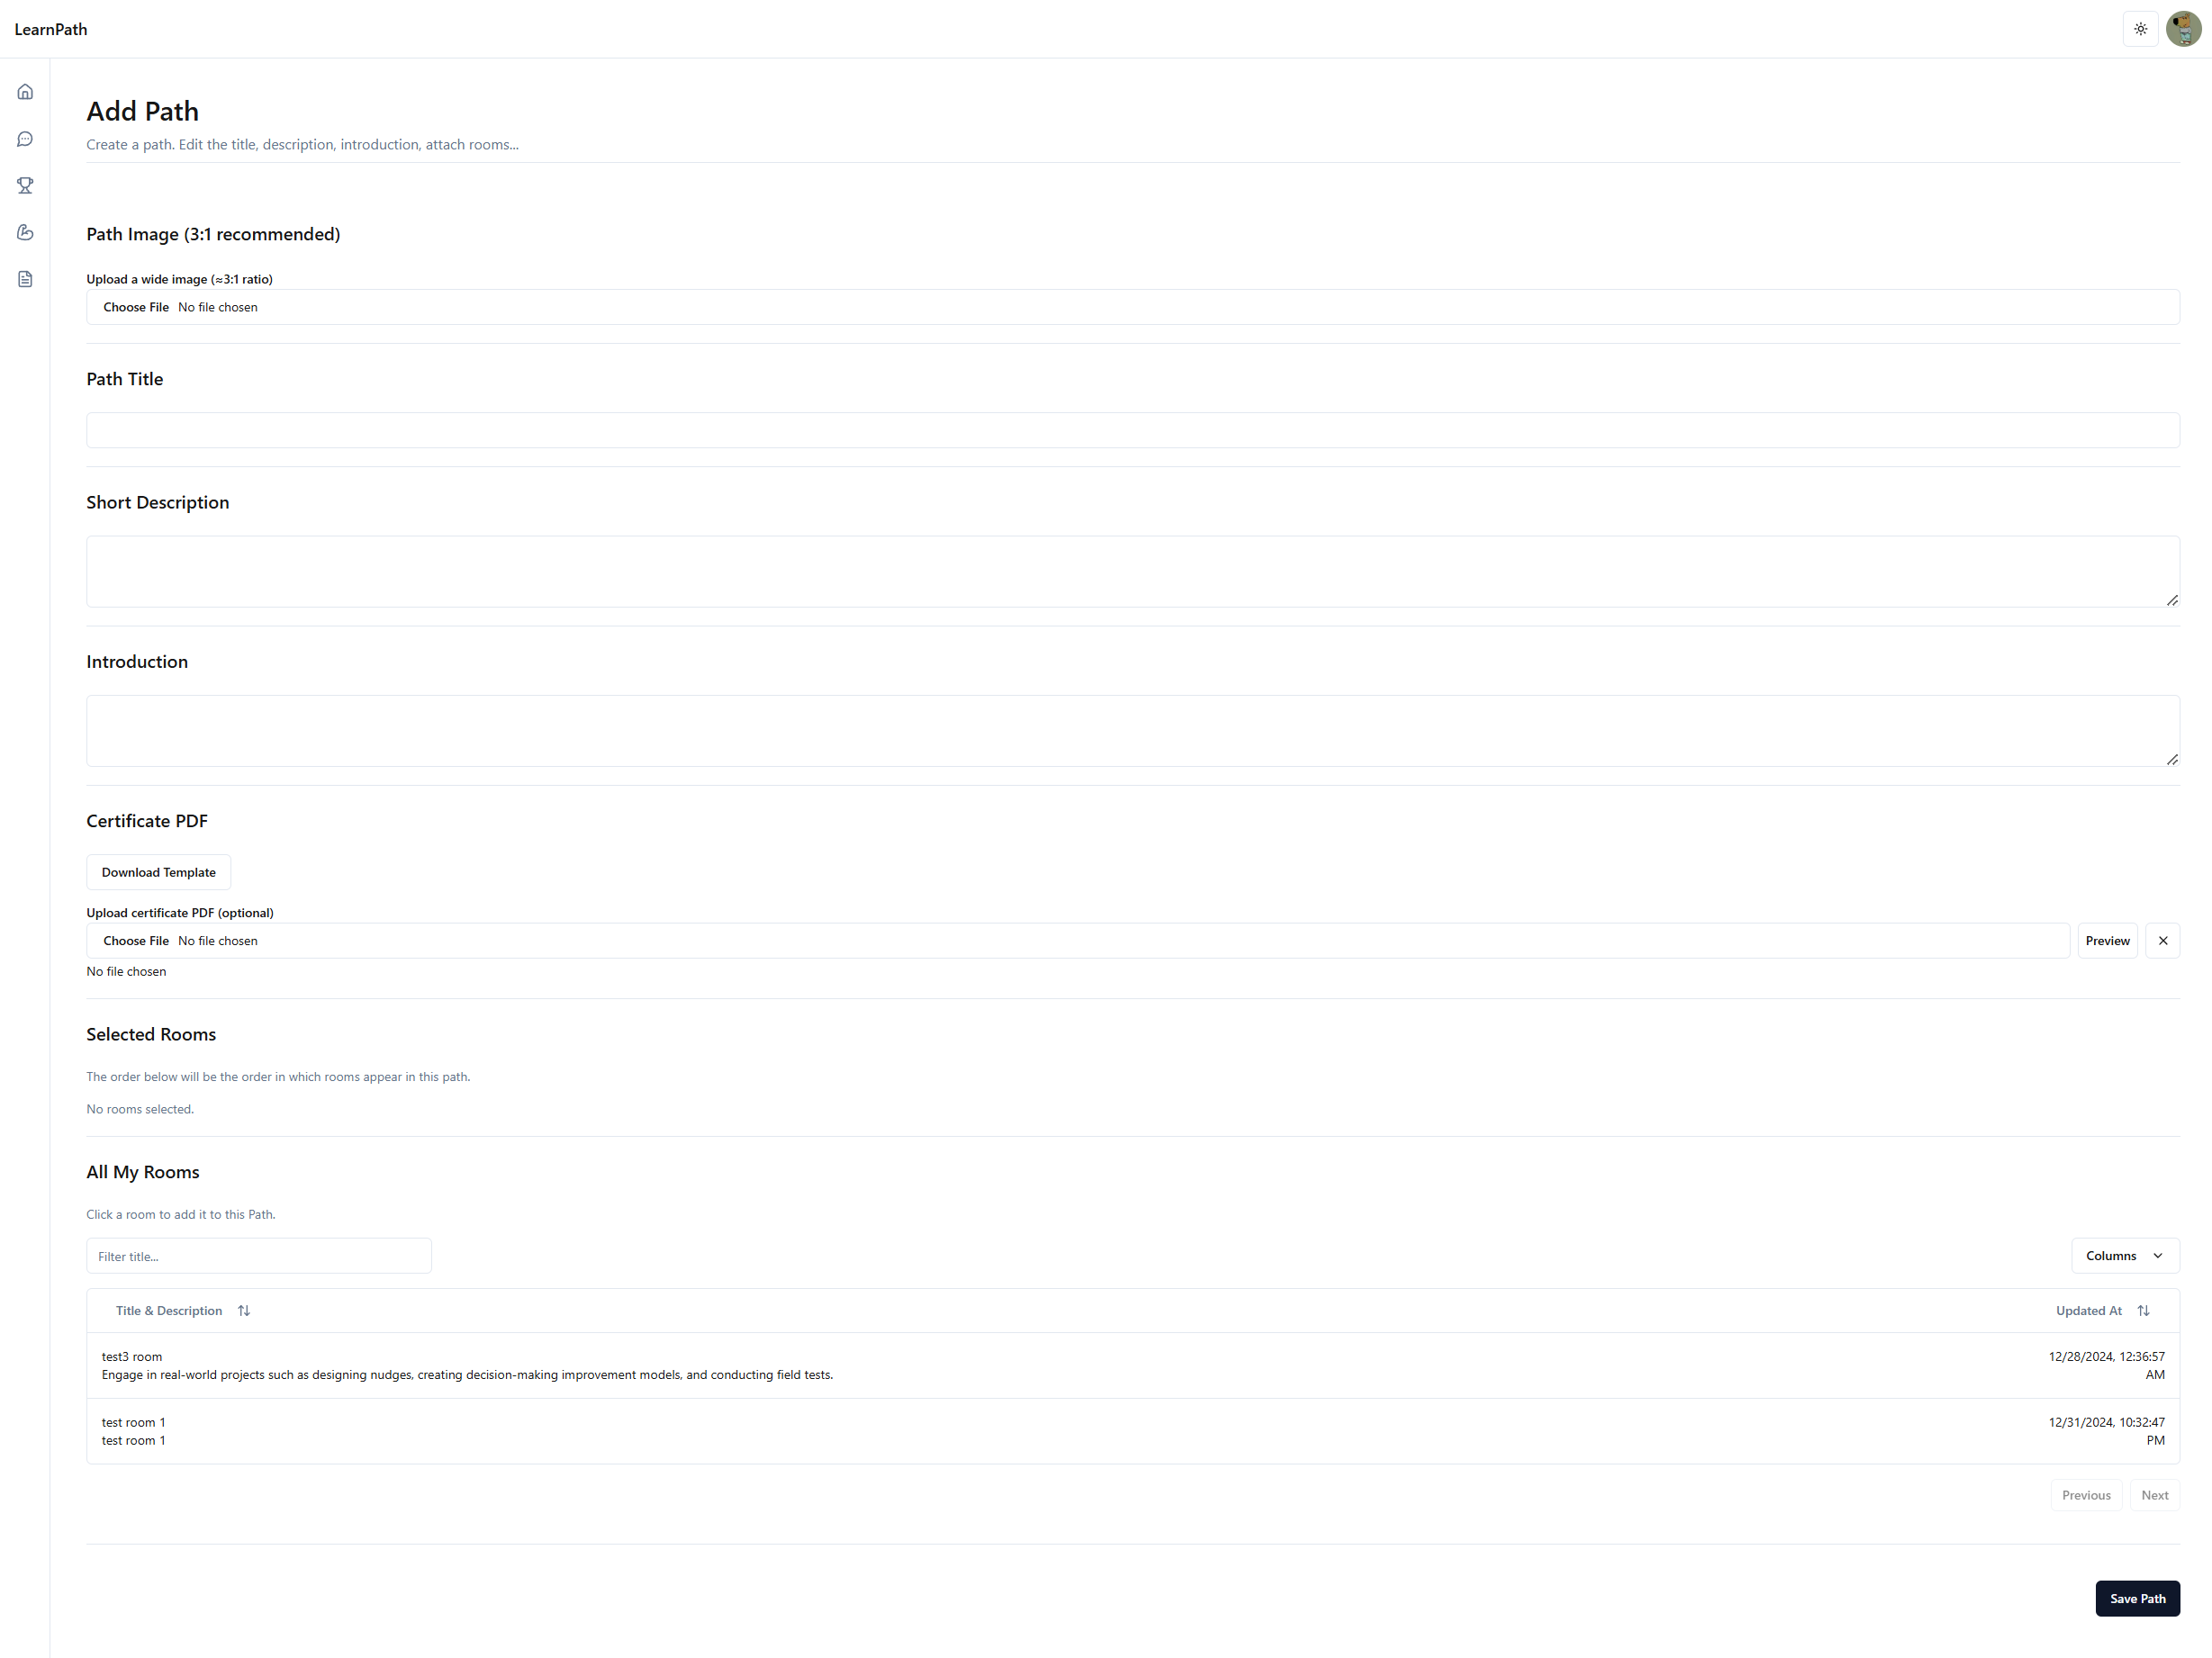
- Click “+Add Path”: Provide a title, short description, and an optional banner image (recommended 3:1 ratio).
- Attach Rooms: Select from your published rooms. Reorder them as needed.
- Attach a Certificate (Optional):
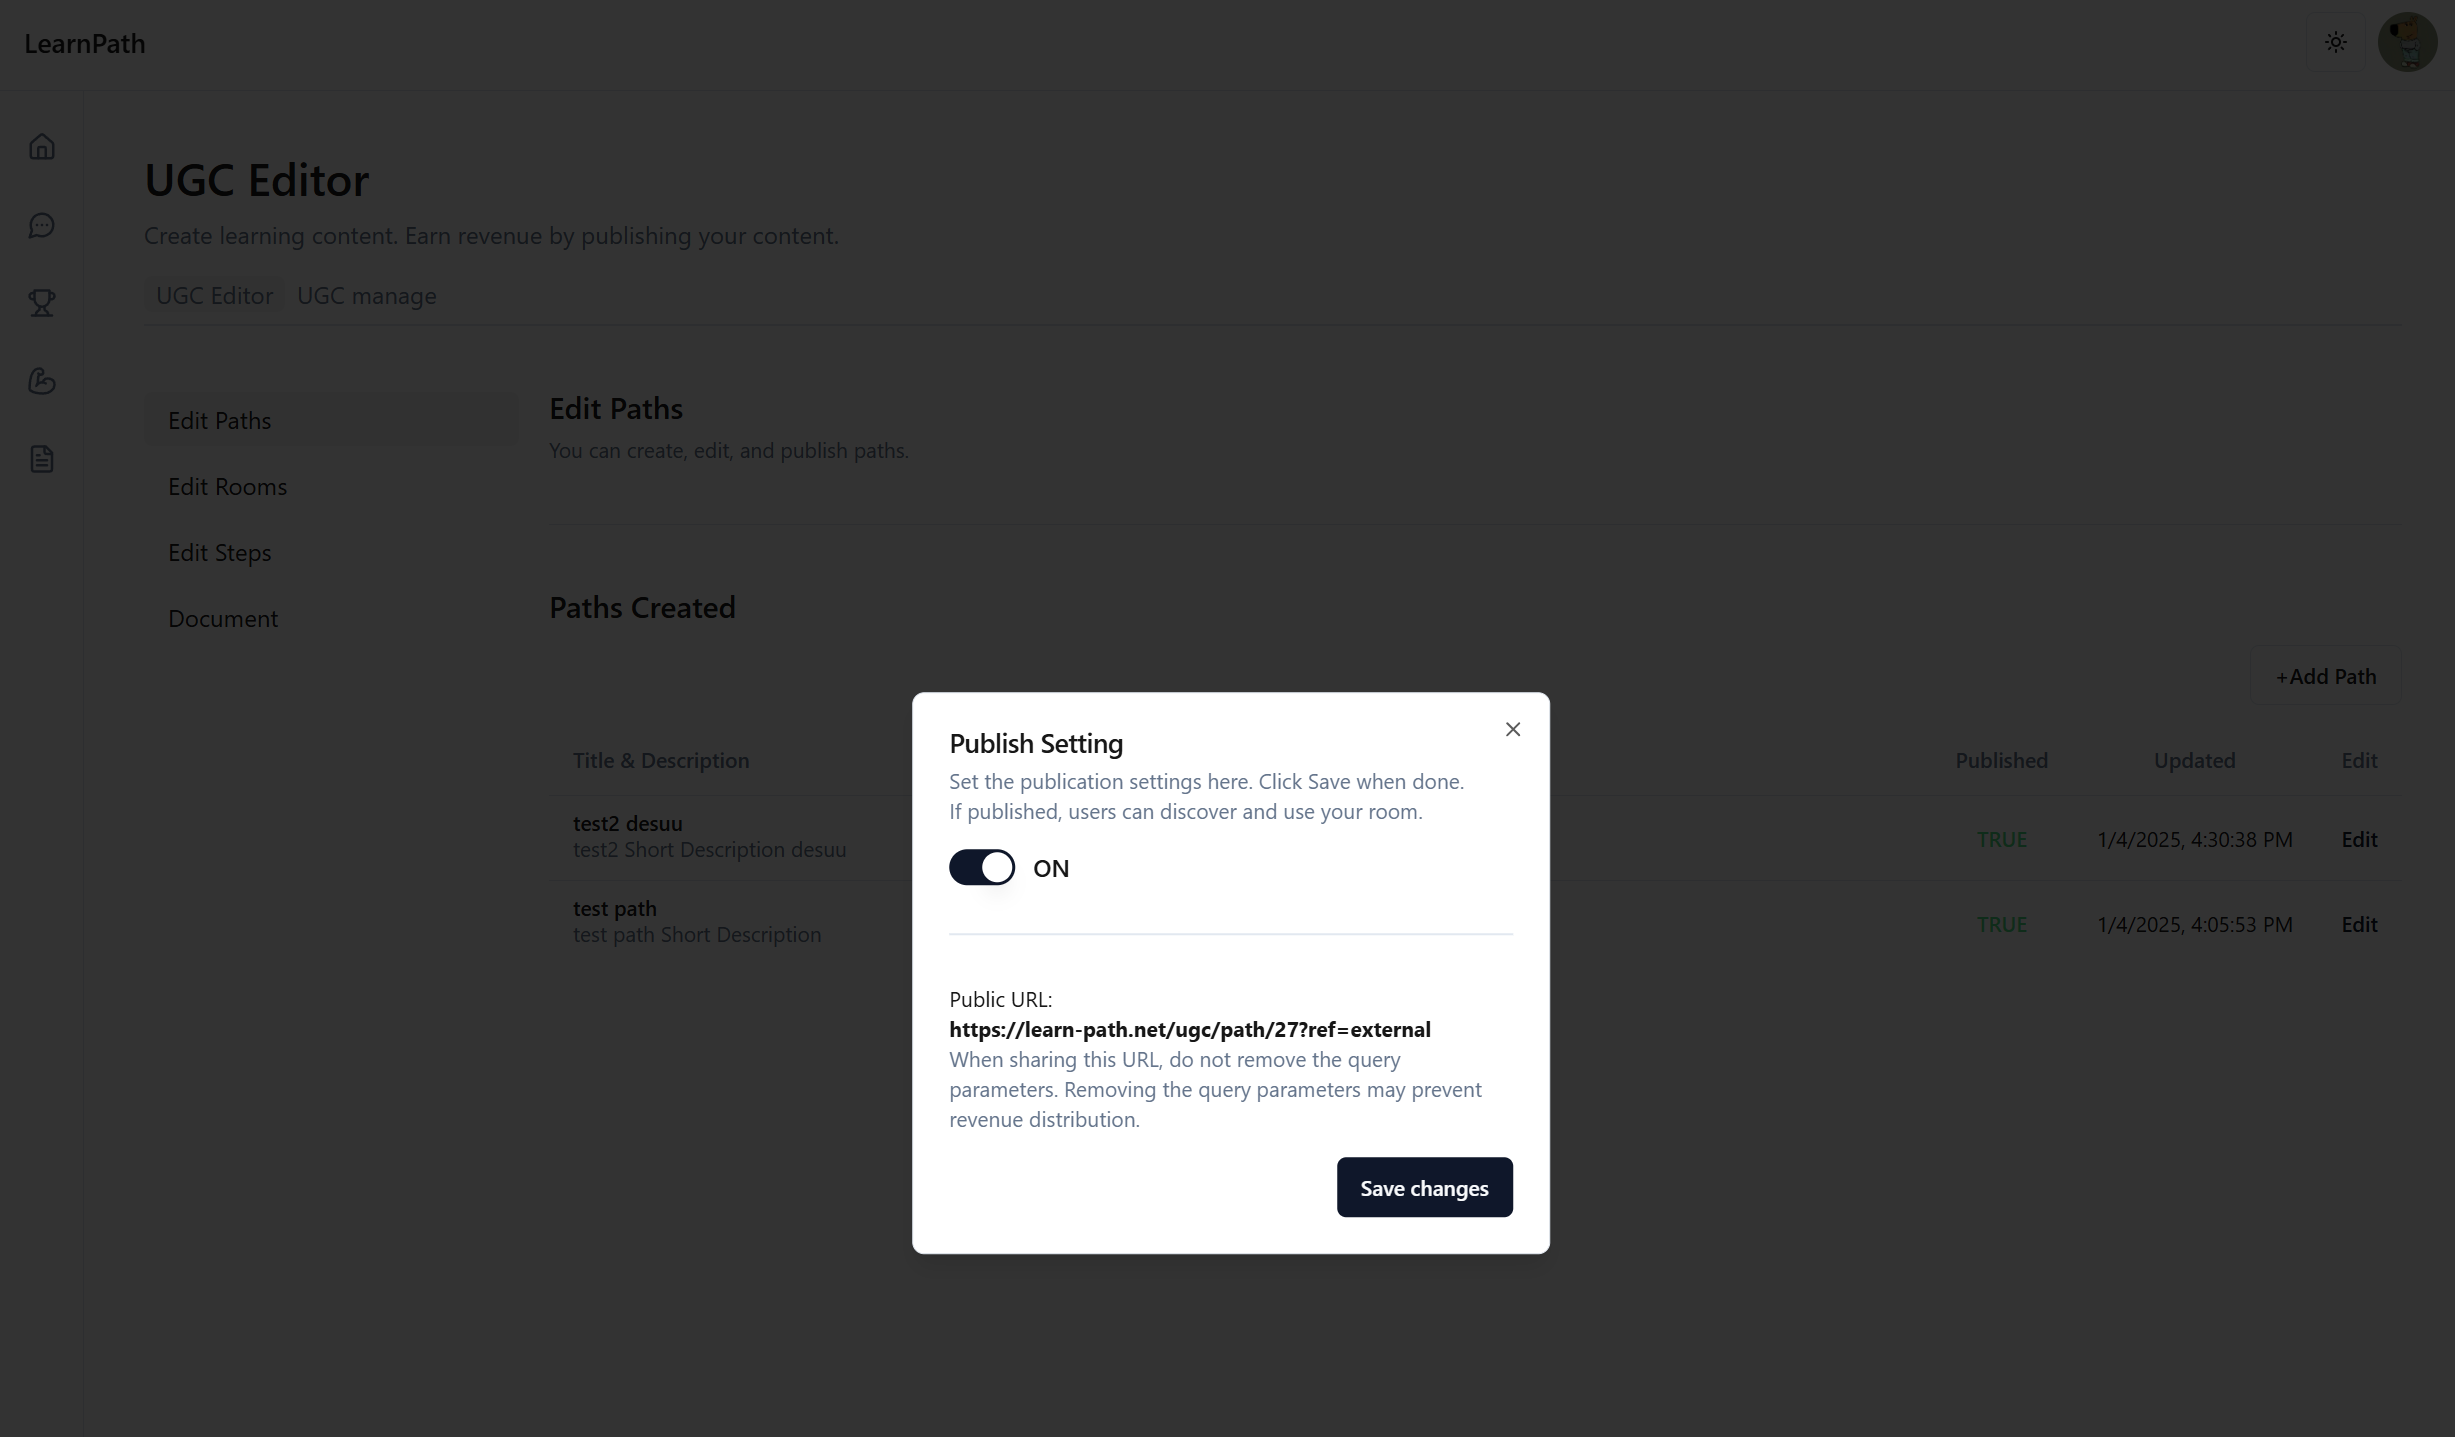
Upload a PDF if you want learners to receive a certificate upon completion. - Save & Publish: Once your path is ready, toggle
publishedto make it discoverable.
6. Review and Next Steps
Congratulations—your first UGC is set up! Here’s a quick checklist:
- Verify each step looks correct in the Room Preview.
- Ensure the Room(s) you want to include in the Path are published.
- In the Paths list, confirm your newly created Path is published so it’s publicly accessible.
- Use the “Public URL” from the Path List to share on social media or your website.
To learn more about advanced editing options, see:Navigating the Editor.
Or, to see how to earn revenue from your published content, check out:Publish and Monetize.